What am I Paying For? A Guide to the Landscape Design Process
UNDERSTANDING THE DESIGN PROCESS
What Am I Paying For? A Guide to the Landscape Design Process
“Can you elaborate a bit on what a schematic design is? And what are detailed plans? How are they different? What do they include?” — This is one of the most common questions I get from new clients, and it’s a great one.
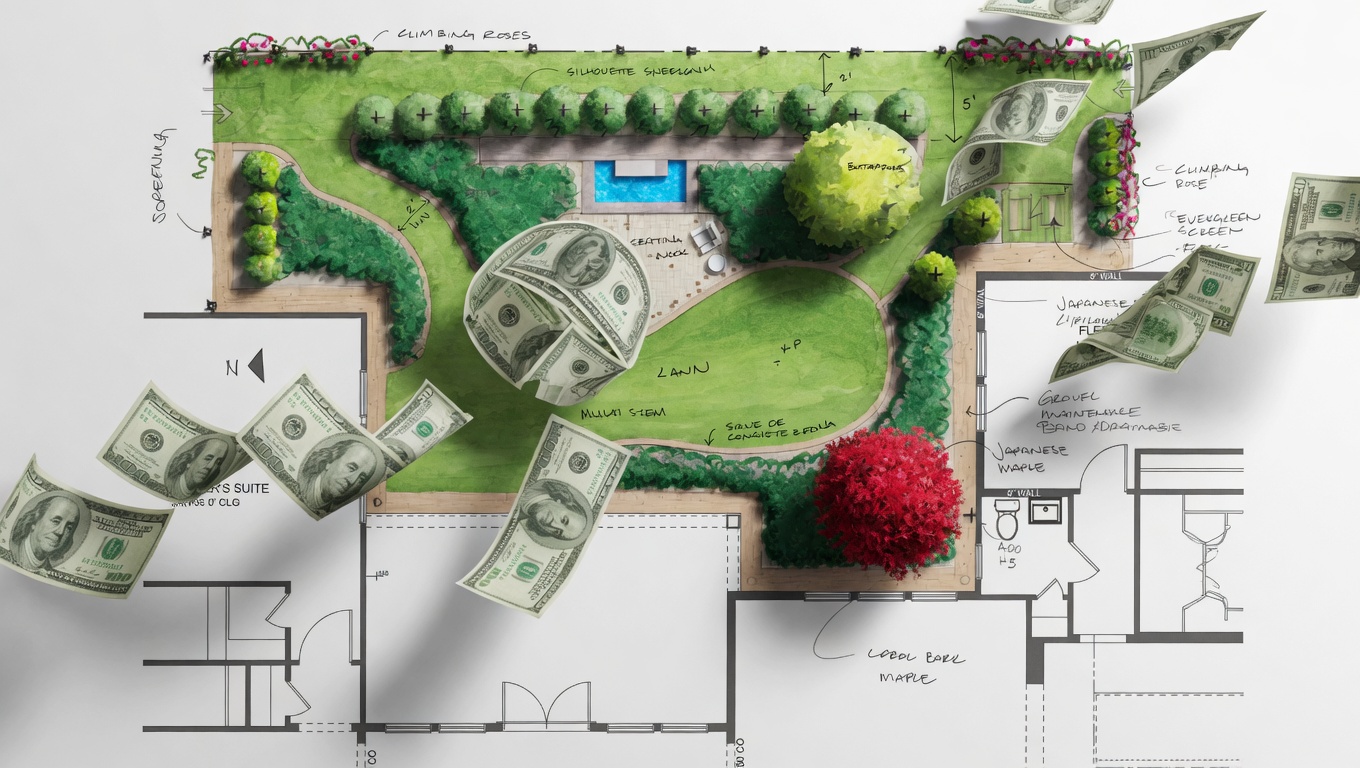
The drawings your landscape architect creates aren’t just pretty pictures — they’re the blueprint for your investment. Here’s what each phase looks like and why it matters.
The simplest way to think about it: the schematic design is the “what and where” — it’s the layout, the vision, the big picture of your space. Construction drawings are the “how and how much” — the detailed, technical documents your contractor will use to price the project and build it correctly. But those are actually just two steps in a bigger process. There are five phases to a landscape design project, and each one serves a specific purpose.
The Five Phases
PHASE 1 Site Analysis & Programming
Before we design anything, we need to understand your property and what you want from it. We visit the site and document the existing conditions — trees, slopes, drainage, sun and shade, views, utilities, structures, and anything else that will affect the design.
We also sit down with you to establish the site program. This is where we talk about how you live in your space and how you want to live in it. Do you entertain? Do the kids need play space? Is low maintenance a priority? What do you love about the property, and what drives you crazy? These conversations become the roadmap for everything that follows.
EXISTING CONDITIONS PLAN (BASE MAP)
A scaled drawing of your property as it exists today — showing the house footprint, property lines, existing trees and plantings, utility locations, drainage patterns, driveways, fences, and any structures. This is the canvas we’ll design on. Getting this right is critical because every measurement and design decision that follows depends on it.
SITE ANALYSIS DIAGRAM
An overlay on the base map that notes sun and shade patterns, prevailing wind direction, views you want to preserve or screen, slopes and drainage issues, and problem areas. This is how we identify the opportunities and constraints of your site before putting pencil to paper.
BUBBLE DIAGRAM / SITE PROGRAM
A loose diagram showing how different zones of your space relate to each other — “entertaining here, kids’ play area there, quiet garden along this side” — paired with the written goals from our conversations. This is our checklist as we move into design.
PHASE 2 Schematic Design
This is the creative, collaborative phase. We’re working out the big picture together: where things go, how the spaces connect, how you’ll move through your space, and what the overall character will feel like.
At this stage, nothing is set in stone — and that’s the point. It’s far easier and less expensive to move a patio or rethink a planting bed on paper than it is after concrete has been poured. This is where your input matters most.
Schematic drawings are intentionally loose. They show you enough to understand the vision and make decisions, without getting bogged down in technical detail that would be premature at this point.
CONCEPTUAL SITE PLAN
A scaled overhead view of your property showing the proposed layout — patio areas, lawn, planting beds, walkways, and major features like a pool, fire pit, or outdoor kitchen. Shapes and sizes are accurate, but you won’t see specific materials, dimensions, or plant species yet. Think of it as the “floor plan” of your space.
CONCEPT ALTERNATIVES
We often present two or three layout options so you can compare different approaches. Maybe one option puts the patio close to the house and the garden in the back corner; another flips that relationship entirely. Seeing alternatives helps you figure out what feels right before we commit.
INSPIRATION BOARD
Photos and references that capture the look, feel, and materials we’re considering — so we’re speaking the same language about style before we start drawing details.
PHASE 3 Design Development
Once you’ve approved the schematic design, we refine it. This is where the concept gets sharper — general shapes become specific geometries, “patio area” becomes a defined space with a material palette, and “screening plantings” start to take shape as specific plant groupings.
Think of design development as the bridge between the big idea and the technical documents. We’re locking in the design decisions now so that when we move into construction drawings, we’re documenting an agreed-upon plan — not still making design choices. That saves time and avoids expensive revisions later.
REFINED MASTER PLAN
The schematic plan, now tightened up with more precise geometry, preliminary material selections, and general planting concepts. You’ll start to see the difference between “flagstone patio” and “bluestone patio with a soldier course border,” or between “shade tree” and “Live Oak.”
MATERIAL & PLANT PALETTE
A board or document showing the materials and key plant species we’re proposing — pavers, stone, wood types, specific trees and shrubs. This gives you a tangible sense of the look and feel before we finalize everything in the construction documents.
PHASE 4 Construction Documents (Detailed Plans)
Once we’ve landed on a design you’re happy with, we move into construction drawings. This is where we take that agreed-upon layout and add all the detail a contractor needs to actually build it — exact dimensions, materials, grading, drainage, planting specs, lighting locations, and so on. If the schematic is the “what and where,” construction drawings are the “how and how much.” They’re the documents your contractor will use to price the project and build it correctly.
The level of detail is also what protects you: when the scope of work is clearly defined on paper, you get accurate bids and fewer surprises during construction.
LAYOUT & DIMENSIONS PLAN
The same overhead plan from the schematic phase, but now with exact measurements. Every patio edge, walkway width, planting bed boundary, and setback from your property line is dimensioned. This tells the contractor precisely where everything goes.
GRADING & DRAINAGE PLAN
Shows how water will move across your property after construction — existing and proposed elevations, the direction of surface drainage, locations of catch basins or French drains, and any retaining walls. This is critical in Southeast Louisiana where drainage can make or break a project.
PLANTING PLAN
Every tree, shrub, groundcover, and perennial is identified by species, shown in its exact location, and listed with quantities and sizes on a plant schedule. Instead of “shrubs along the fence,” you’ll see the exact species, size, quantity, and spacing for every plant. This ensures you get exactly what was designed — not whatever the contractor had on the truck that day.
HARDSCAPE DETAILS & SECTIONS
Cross-section drawings that show how things are built from the ground up — the layers of base material under your patio, how a retaining wall is constructed, the footing depth for a pergola. These are the details a contractor needs to build it to last.
LIGHTING & IRRIGATION PLANS
Locations of every landscape light fixture and irrigation head, what type each is, how they’re wired or piped, and where the transformer or controller goes. Proper plans for these systems mean your outdoor lighting is designed for the right effect and every plant gets the water it needs.
PHASE 5 Construction Administration
The drawings are done, but our job isn’t. During construction administration, we act as your agent through the entire build process. We help you select the right contractor, review proposals and bids to make sure they’re complete and competitive, and answer the questions that inevitably come up during construction.
We conduct site visits to confirm the work matches the plans, review material submittals and substitutions, and help resolve issues that arise in the field. Things always come up during construction — a root system that wasn’t visible during the survey, a material that’s back-ordered, a field condition that requires an adjustment. Having your landscape architect involved ensures those decisions are made with the design intent in mind, not just whatever is fastest or cheapest for the contractor.
This phase is about protecting your investment. You’ve spent time and money getting the design right — construction administration makes sure it’s built right.
BID REVIEW & CONTRACTOR SELECTION
We review contractor proposals line by line to make sure they’re pricing what was actually designed — not their own interpretation of it. We can also help you compare bids fairly, since not all proposals are structured the same way.
SITE OBSERVATION REPORTS
After each site visit during construction, we document what we observed — what’s on track, what needs attention, and any decisions that need to be made. These reports keep everyone accountable and create a record of the build.
Why Do We Do It in Phases?
The reason we do it in steps is simple: it’s much easier and less expensive to move a patio on paper than it is after it’s been poured. The early phases let us get the big decisions right before we invest the time in all the technical detail. And the last phase — construction administration — makes sure all that careful work actually shows up in what gets built.
Not every project requires every phase at the same depth, and we’ll always talk through what makes sense for your specific situation. But understanding the process helps you see that each step has a purpose — and that every drawing we produce is there to protect your investment and get you a better result.